Overview
In this lesson, students will practice creating secondary colors, tints, and browns.
Materials and Tools
- Tempera paint (red, yellow, and blue)
- Trays
- Water bowls
- 1” flat paintbrushes
- Paper towels
- 12 x 18” paper
- Plastic cups
- Table coverings
Objectives
Students will understand that
- Adding white to a color creates a tint.
- Mixing different combinations of the primary colors creates browns.
Students will be able to
- Create secondary colors, tints, and browns.
Activities
Engagement
Introduce: I have a new color on my tray — white. What do you think will happen to my colors when I add white? Yes, they will become lighter.
When we add white to a color it is called a tint. Does anyone know an example of a tinted, lighter color? Baby blue! Pink is an example of a tint, too.
Demonstrate
- Let’s create a pink shape. First, I’ll paint a red shape. Then, I’m going to clean my brush and dip it in the white, then mix it with the red. Look, it turned pink!
- Next let’s try to make brown. How do you think we can mix it using our primary colors?
- I’m going to start by mixing orange. How do I mix orange again? Yes, red and yellow.
- I’m going to dip my brush and get just a little bit of paint. Create an orange shape on your paper.
- Hmm, I wonder what color I should add to make brown. Let’s try some blue. If its not quite brown, I can add more of one of other the primary colors. It made brown!
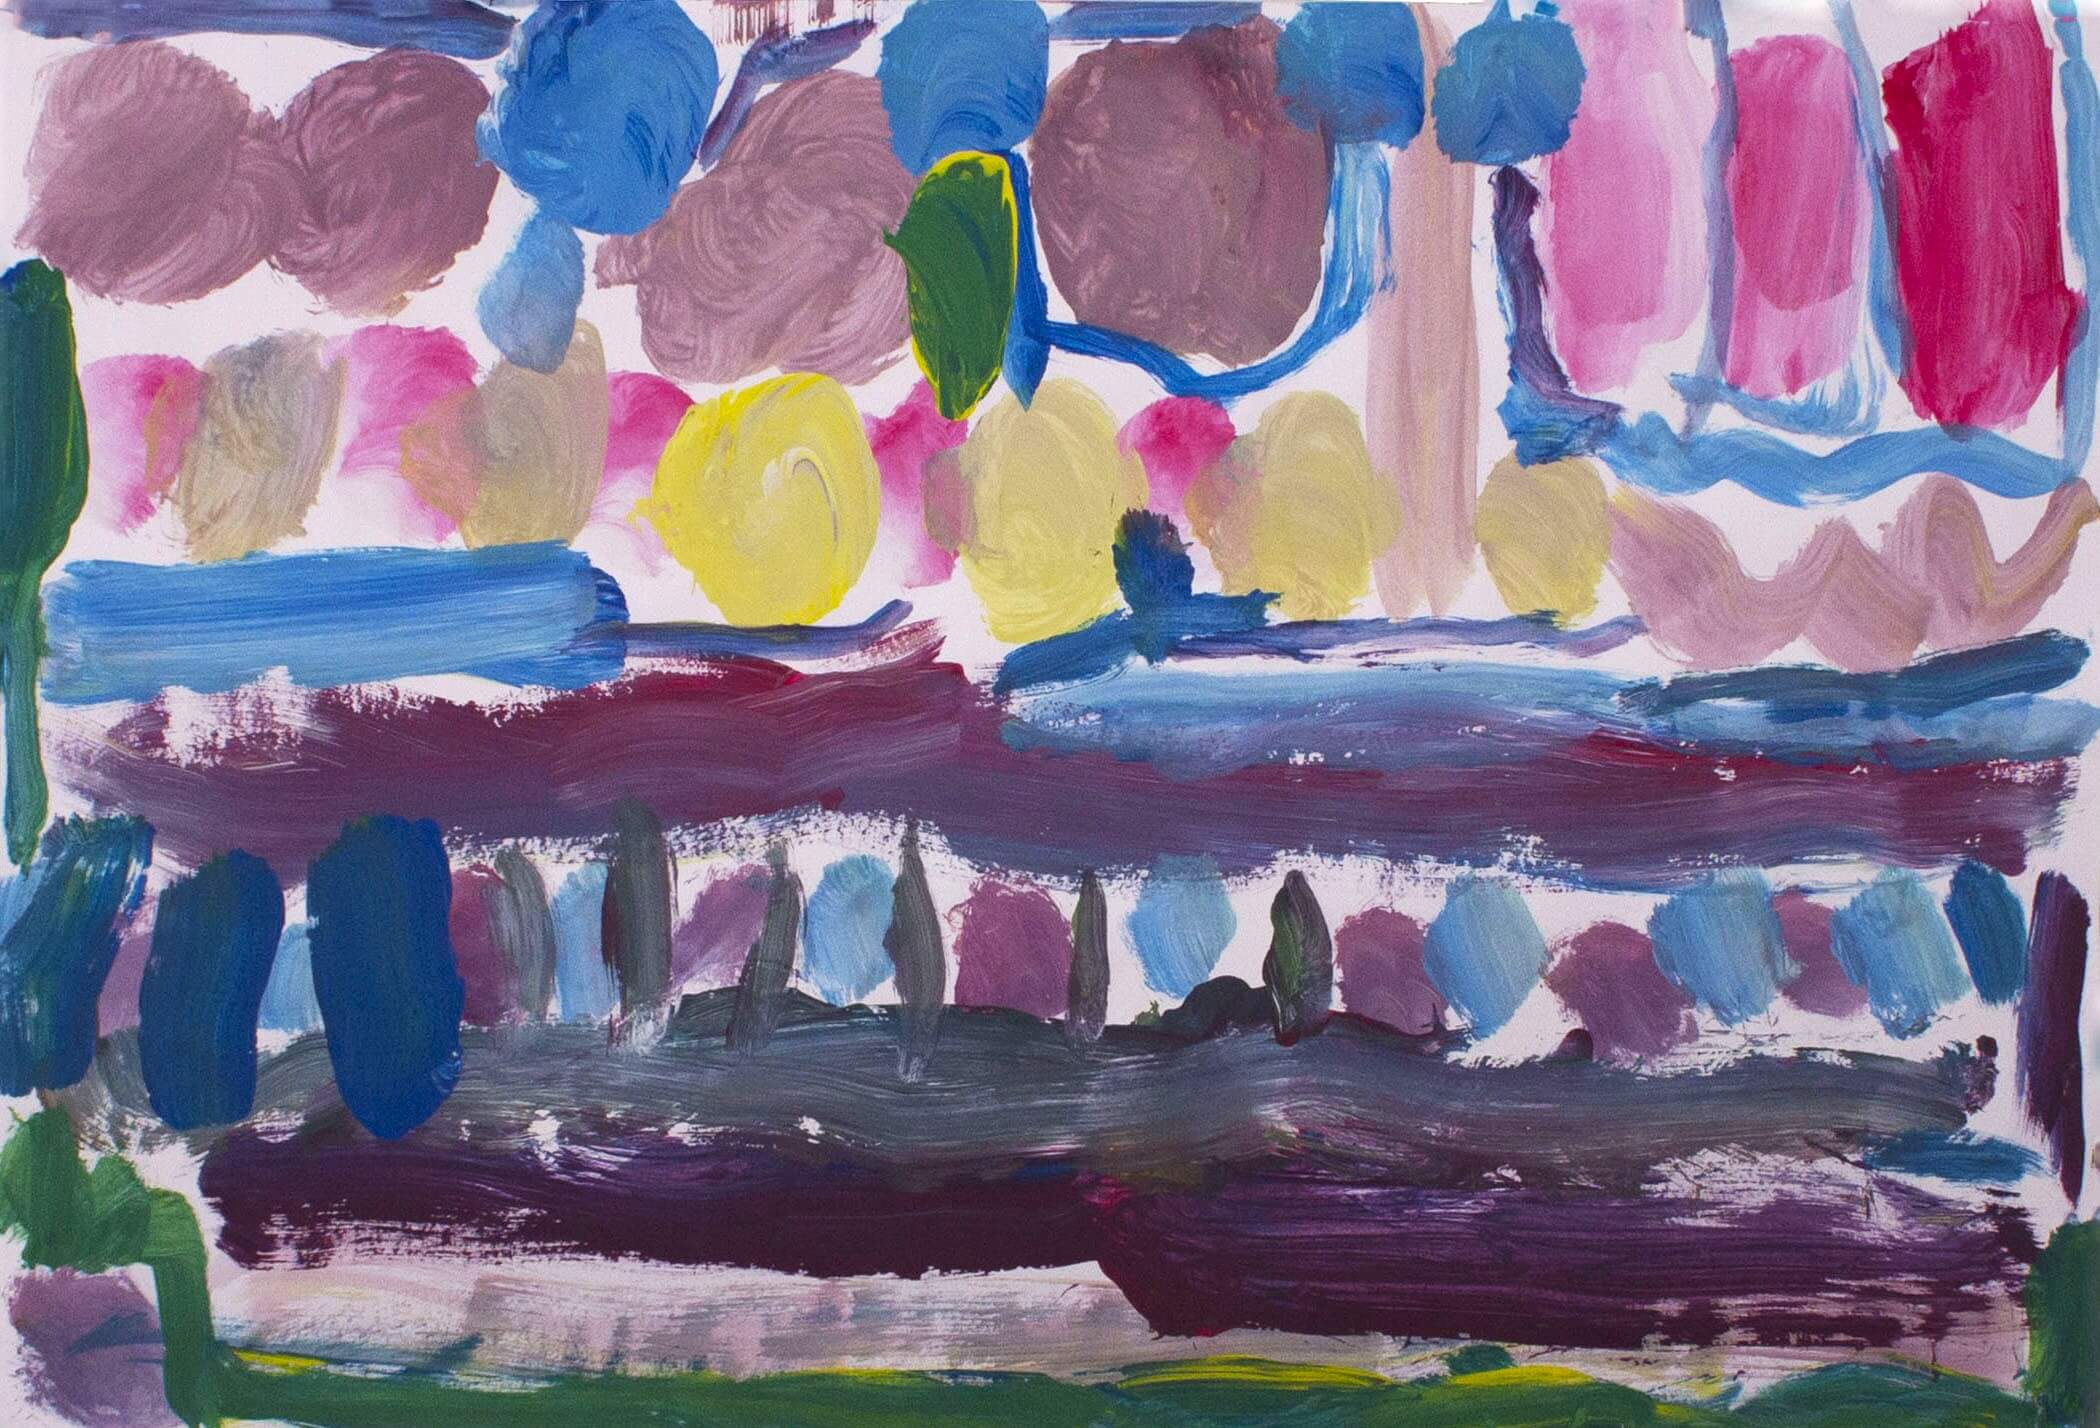
Now it’s your turn to practice mixing tints and browns. How many different tints and browns can you mix? Try to fill your entire paper with shapes and colors!
Work time
During work time, students should be encouraged to:
- Add white to primary and secondary colors create a range of tints.
- Make a variety of browns by mixing the primary colors.
Clean Up
It’s time to stop painting! Please put your paintbrushes on the tray. We will collect your paintings and give you a wipe to clean your hands.
- Ask a student to collect the brushes in a tall deli container or small bucket and bring them to the sink. If desired, instruct the students on how to carefully clean the brushes.
- The adults in the room should collect the paintings, while students stay seated. (Students sometimes hold the paintings upright, causing drips.) If you are planning a gallery walk reflection, leave the paintings on the tables until the reflection is done.
- Hand out baby wipes for students to clean their hands.
- Place the lids on the paint cups and carefully collect them.
- Decide in advance where the wet paintings will dry. Paintings can be placed on top of bookshelves, on the window sills and/or on an empty table. Use newspaper or newsprint to protect surfaces.
- Collect table coverings.
Reflection
Gather students in a circle on the rug, or around a table. Select 2-3 student artworks with a range of tints and browns to discuss.
- How do you think this artist created this (tint)?
- How do you think this artist created this brown?
Invite students to reflect on their own process:
- Who created an interesting tint today? How did you do it?
- Who created an interesting brown today? How did you do it? What colors did you use? Did you use more of one color than the other?
Adaptations
Adaptations for Upper Grades
- Add turquoise and magenta to create even richer colors.
- Give students individual palettes and teach them how to mix on a palette.
- Mix tints of tertiary colors.
Adaptations for Students with Disabilities
- Use adaptive paint brushes to support different grips.
- If the class is small, sit together with students at a table and paint side by side.
- During free painting time, provide individualized support and remodeling if necessary.
Adaptations for Multilingual Learners
- Create a word wall with the vocabulary words (in English and relevant languages).
- Emphasize and repeat key vocabulary words.
- Invite students to teach the class the names of colors in their home language.
Vocabulary
Tints

